
Installing a modular wardrobe at home raises a question rarely asked beforehand: does the destination wall actually support the intended load? Most guides detail the choice of shelves or drawers, but the nature of the partition determines the overall sturdiness long before the first screwdriver is used. It is on this technical point, often underestimated, that the success of a modular wardrobe hinges.
Wall Fixing and Partition Type: The Factor Ignored by Manuals
A modular wardrobe almost always relies on rails or uprights fixed to the wall. On a load-bearing wall made of concrete or solid brick, a standard anchor is usually sufficient. The situation changes dramatically when faced with a drywall partition.
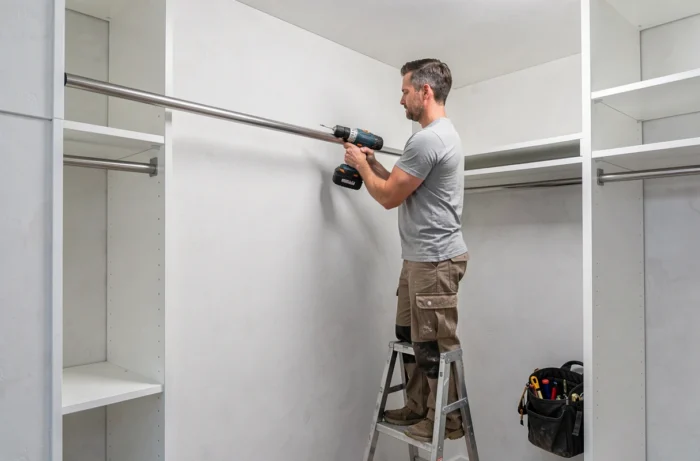
In this case, the fixing must reach a metal or wooden stud behind the board. Screwing into the drywall alone, even with an expansion anchor, risks pulling out under the combined weight of clothes and accessories. The fixing must be done in a structural part of the furniture and not just in the back panel, as noted by the website Furniture-247.
To locate the studs behind a drywall, a magnetic stud finder costs just a few euros and avoids guesswork. Knock on the wall: a hollow sound indicates emptiness, while a solid sound signals a stud. Mark the locations with a pencil before drilling.
If you are looking for a ready-to-install kit model with instructions suited to this type of constraint, the guide for a modular Brico Dépôt wardrobe details the assembly steps while considering different wall supports.
Anti-Tipping Safety for a Modular Wardrobe: Standards and Methods
A tall and shallow wardrobe, especially if it is not built into two walls, can tip forward. This risk is particularly relevant for households with children who may climb on the lower shelves.
The European standard EN 14749+A1:2022 governs the stability of domestic storage furniture. The European regulation 2023/988 further strengthens the general safety obligation for products sold on the market. These texts do not exempt one from an appropriate wall fixing suited to the actual support of your home.
In practical terms, a strap or metal bracket connecting the top of the furniture to the wall is the most reliable solution. Most modular kits include this type of accessory, but it often remains in the hardware bag, uninstalled.
- Fix the anti-tipping bracket in the upper third of the furniture, on the wall side, reaching a stud or load-bearing material.
- Check that the wardrobe does not tip when an upper drawer is opened and loaded: this is the most common tipping scenario.
- If the furniture exceeds 180 cm in height, double the fixing points (one bracket on each side).
Ergonomics and Accessibility: Useful Heights for Functional Storage
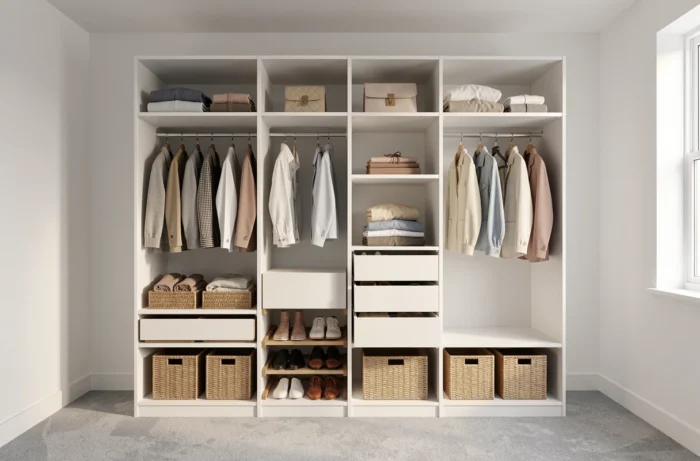
The internal storage of a modular wardrobe becomes more efficient when the heights respect actual use. Placing a hanging rod too high or drawers too low turns a storage space into a source of daily frustration.
| Wardrobe Area | Recommended Height | Main Use |
|---|---|---|
| High wardrobe (coats, dresses) | Between 150 and 170 cm from the floor | Long clothing |
| Mid-height wardrobe (shirts, jackets) | Between 90 and 120 cm from the floor | Short clothing, frequent access |
| Shoe shelves | Between 20 and 50 cm from the floor | Low storage, rarely used |
| Drawers or baskets | Between 60 and 100 cm from the floor | Accessories, underwear |
For homes where accessibility matters (elderly person, reduced mobility), French regulations provide for command heights between 0.90 m and 1.30 m in new housing. Applying this principle to a modular wardrobe means concentrating the most used areas within this height range.
Circulation Around the Wardrobe
A clearance space of at least 70 cm in front of the furniture allows for opening drawers and doors without obstruction. Below that, access to lower elements becomes cumbersome, and sliding doors lose their usefulness since one can no longer stand facing the open section.
Anticipate circulation from the choice of location, even before ordering the elements. A wardrobe installed in a narrow hallway or behind a bedroom door that opens inward creates a constant usage conflict.
Modular Wardrobe Kit: Selection Criteria Affecting Durability
Not all modular systems are equal in the long run. The thickness of the panels, the type of hardware, and the assembly method directly influence the rigidity of the whole after several years of use.
- Prefer panels of sufficient thickness for shelves supporting weight (sweaters, shoes). Thin shelves eventually bend in the center.
- Wall-mounted rail systems allow for repositioning shelves and hanging rods without drilling new holes, which gives the wardrobe its true modularity.
- Screwing connectors provide superior support compared to glued dowels, especially in particle board. If an element needs to be disassembled and then reassembled, the glued dowel does not forgive.
A wall-mounted rail system remains adjustable over time, unlike closed boxes whose configuration is fixed once assembled. For a wardrobe intended to evolve (adding a children’s space, changing seasonal wardrobes), this criterion carries significant weight.
Minimal Tools for Assembly
A level, a drill-driver, a tape measure, and a stud finder cover almost all assembly of modular wardrobe kits. The level remains the most underutilized tool, as a rail installed with a few millimeters offset is enough to make sliding doors difficult to operate.
The durability of a modular wardrobe depends less on the aesthetic choice of the facades than on the quality of the wall fixing and the rigidity of the structure. A well-secured piece of furniture, with properly sized shelves and heights suited to actual use, will serve its purpose for years without major adjustments.